I’ve been operating my site on various flavors of shared web hosting for years. Shared hosting has a lot of benefits: it’s cheap, easy to set up, and hides almost all of the nuts and bolts. I finally decided to take the plunge and remove the training wheels by hosting my site on AWS.
My site is built using Grav, a lightweight file-based CMS. It’s similar to Wordpress but without the requirement of a database. You might be familiar with the concept of a LAMP stack. This is a server running Linux, the Apache web server, the MySQL database, and PHP. To run Grav, I set up a “LAP” stack - same thing but without a database. Here’s how to do it:
Setting up an AWS EC2 Instance
Amazon Web Services Elastic Compute Cloud, or AWS EC2, is a service that provides virtual servers in the cloud. For a basic Grav site we can get away with setting up a single t2.nano instance which is the smallest EC2 instance size currently available. If you’re a new customer, AWS offers a t2.micro instance free for a year, so it’s worth taking advantage of that.
Setting up an EC2 instance has a lot of steps, but they’re pretty well documented. Instead of me copying them here, I’ll link to the official documentation. Complete the two guides below then jump back here for the rest.
After everything is set up you should have the following in your EC2 management console:

Make a note of the public IP, you’ll need it later in this guide.
Install Required Software
Now that you have a shiny new virtual server, it’s time to install the required software.
First, update the server’s software:sudo yum -y update
Second, install Apache, PHP, and the PHP modules required for Grav to perform best:sudo yum -y install httpd24 php56-devel php56-pear php56-mbstring php56-cli php56-imap php56-gd php56-xml php56-soap php56-pecl-apc
Configure Web User Accounts
Create a www group and add the default ec2-user and apache users to it:sudo groupadd wwwsudo usermod -a -G www ec2-usersudo usermod -a -G www apache
Start and Test the Web Server and PHP
Start the web server and configure it to run upon server restart:sudo service httpd startsudo chkconfig httpd on
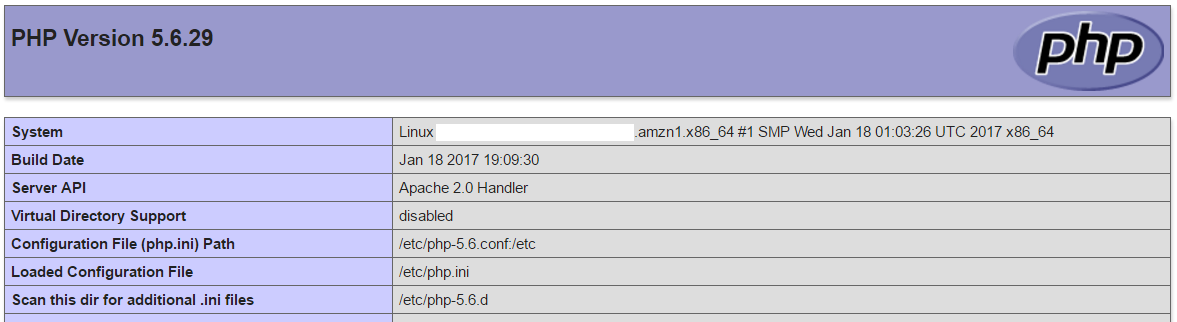
Create a file to display the PHP configuration:sudo echo “” > /var/www/html/phpinfo.php
Now verify that Apache and PHP are working. Open your favorite web browser and navigate to [YOUR_PUBLIC_IP]/phpinfo.php. If everything is set up correctly, you should see a page that starts something like this:
Download and Install Grav
Download Grav Core + Admin Plugin (note: you may want to grab a newer version, I last updated this link in January 2019):wget https://getgrav.org/download/core/grav-admin/1.5.6 -O grav-admin-1.5.6.zip
When the download is complete, you need to extract it into the webroot. By default this is configured at the path /var/www/html. Run the following commands to back up your default webroot and extract Grav into the correct place:cd ~unzip grav-admin-1.5.6.zipmv /var/www/html /var/www/html.oldmv grav-admin /var/www/html
Configure Permissions
The final step is to configure the permissions. I ran the following commands based on Grav’s official documentation:cd /var/wwwchown -R apache:www .find . -type f | xargs chmod 664find ./bin -type f | xargs chmod 775find . -type d | xargs chmod 775find . -type d | xargs chmod +sumask 0002
Test your Site
At this stage, everything should be set up! Navigate to [YOUR_PUBLIC_IP]/admin and Grav should prompt you to set up an administrator account. After that’s done, you should be looking at Grav’s built in dashboard:
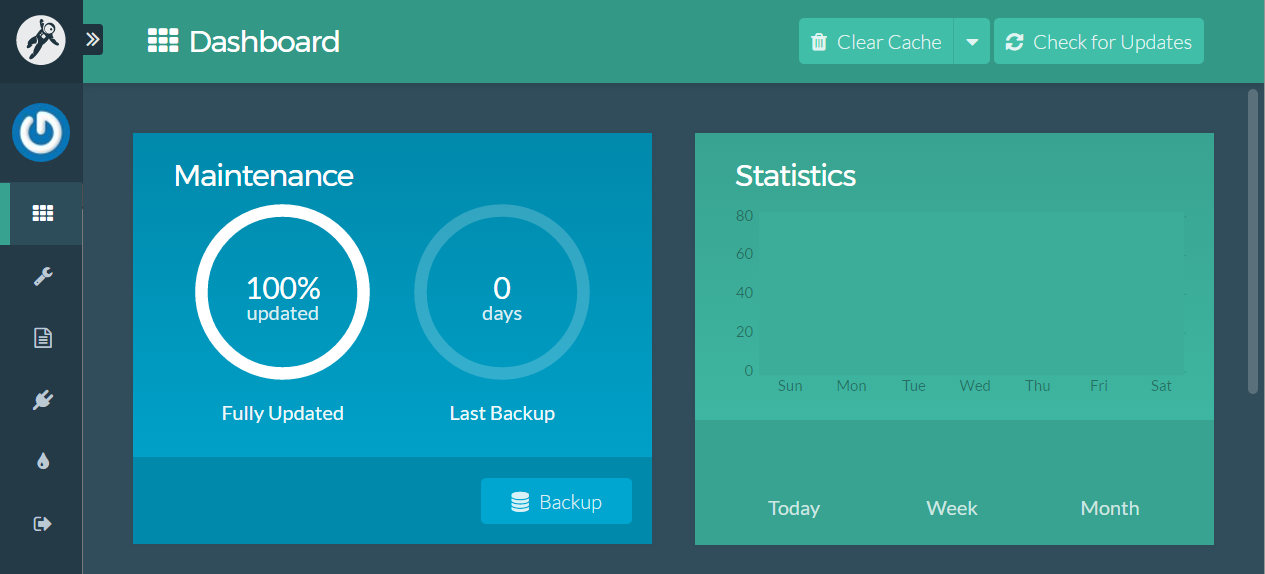
If you see this, congratulations! You have a Grav instance up and running on AWS. I’d recommend using Grav’s built in update function to make sure you have the newest version before adding content.
A Note About Domains
Now that you have Grav set up, you probably want to point a domain name to it. You can register your domain either through AWS or another registrar (I personally recommend Namecheap). The process for signing up for a domain is different depending on the registrar. Usually for me it starts with searching for a domain I like, finding out it’s unavailable, and then repeating three or four (or 20 or 30) times. After you finally find a domain you like and put all the information required to sign up, you have to edit the domain records to point to the IP address of your EC2 instance. Editing the domain records is usually hidden under an advanced menu somewhere on your domain registrar’s control panel.
You want to add two A (for address) records to your domain name, one for yourdomain.com and another for www.yourdomain.com. My configured A records look like this:

Set up SSL
Now that your site is up and running, you should follow this guide to setting up a free SSL certificate using LetsEncrypt.
>> Home